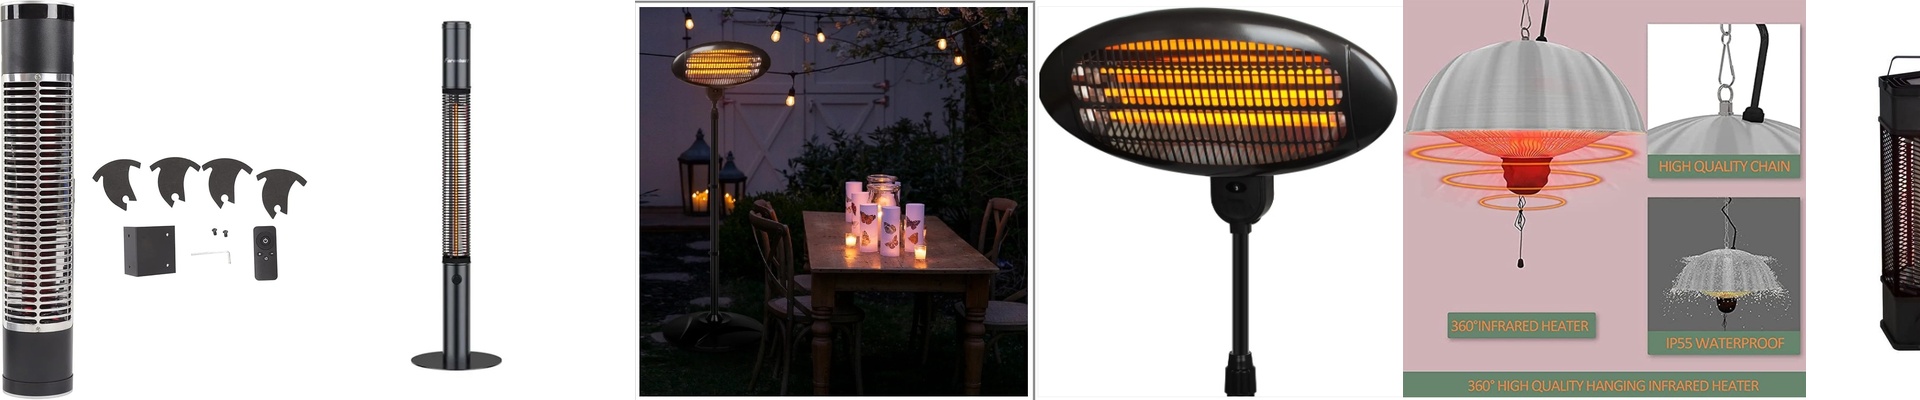
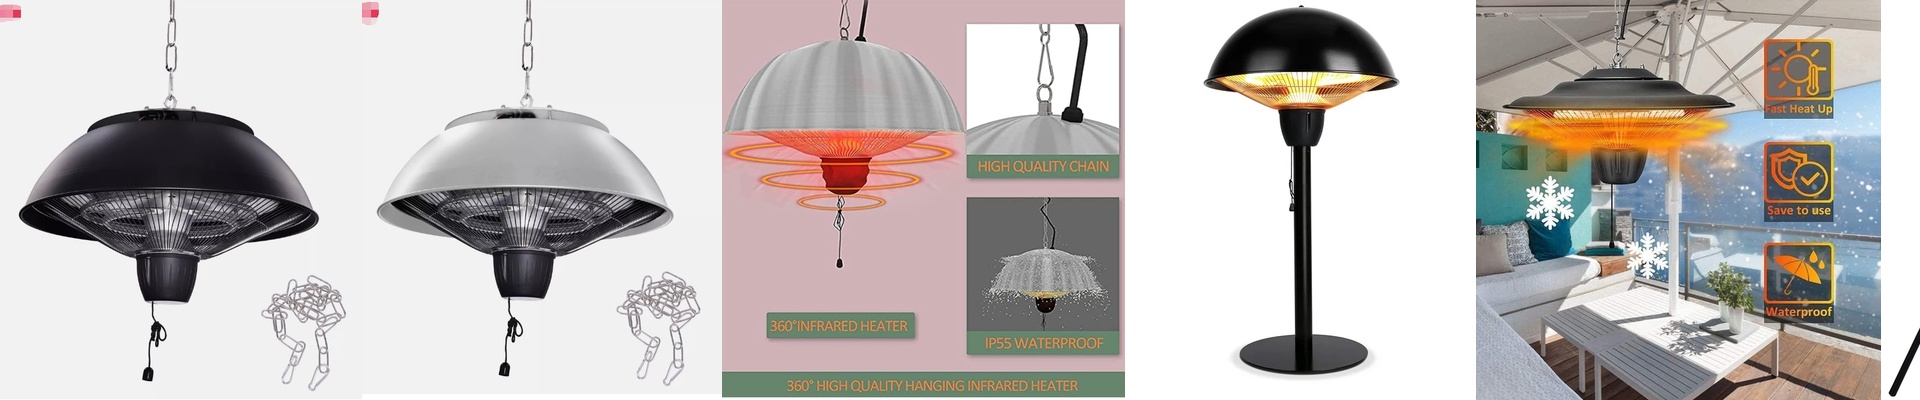
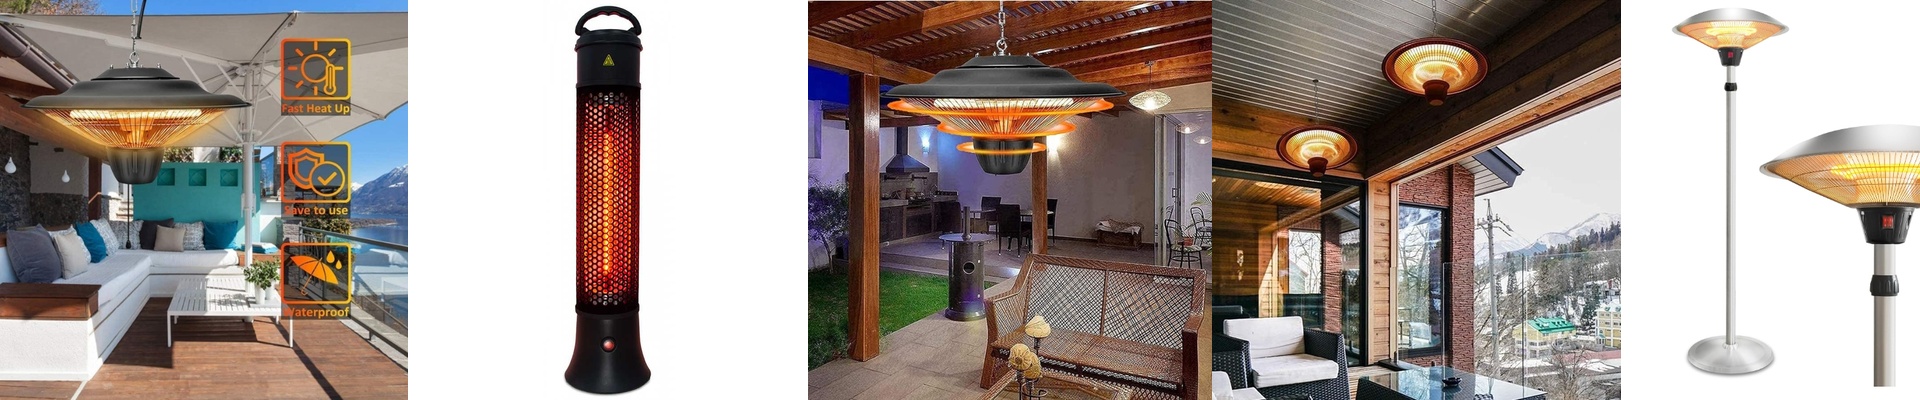
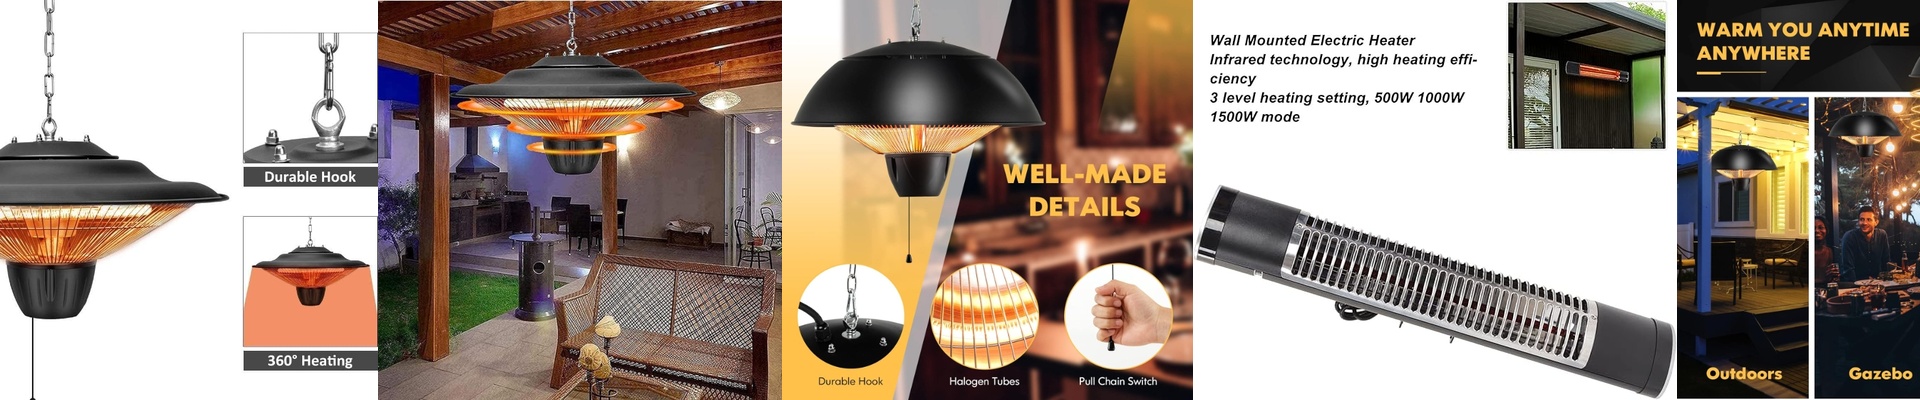
Keeping Your Outdoor Heaters Alive: The Truth About IP65
If you’ve ever bought a cheap outdoor heater, you probably know the drill. It works great for a few months, then one rainy November night, it just… quits. Usually, it’s because water or fog snuck inside and fried the electronics. We wanted to fix that.
What “IP65” Actually Means for You
You’ll see “IP65” on the spec sheet, but in plain English? It means we’ve built a fortress around the guts of the heater. We use precision-molded gaskets and sealed cable entries to keep out dust and water jets. It’s not just about the big rainstorms, either. Fog is actually the sneakier enemy. It creeps into the chassis and eats away at the terminals through corrosion. By sealing everything up tight, we stop that slow decay. Your heater shouldn’t be a “one-winter wonder.”
Heat, Glass, and Salt
To handle the actual heating, we went with high-grade quartz glass. Why? Because it can handle the shock of going from freezing to scorching in seconds without cracking. We paired that with an aluminum alloy chassis that pulls heat away from the electronics, keeping the brain of the unit cool while the emitter pushes warmth toward you. One quick heads-up: the emitter has to stay open to the air so the infrared waves can actually reach you. If you live by the ocean, the salt spray will eventually build up on those quartz tubes.**Give them a wipe every now and then.**If you let the salt crust over, it creates hot spots on the glass, and that’ll kill the tube way faster than it should.
A Pro Tip for Installation
Wiring these is pretty simple, but please—do yourself a favor and install adrip loopon the power cable. If you don’t, rainwater just hitches a ride down the wire and pushes straight against the seal. It puts a lot of unnecessary stress on the gasket. Do it right the first time, and you won’t have to spend your weekends replacing parts. You can just turn it on and stay warm, regardless of the mist or rain.